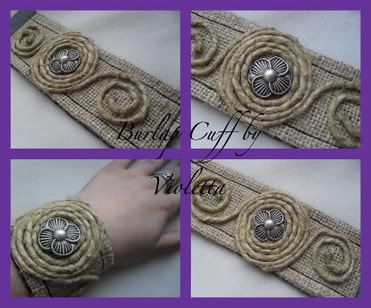
You will need:
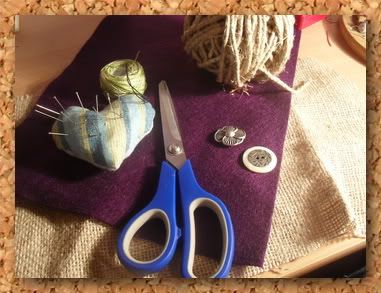
-a piece of burlap
-color of choice felt
-manilla hemp
-button,charm or bead of choice
-pins and needles
-scissors and thread
-a sewing machine (optional)
Step1.
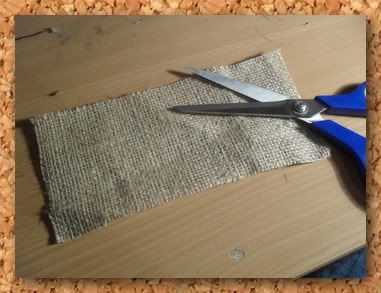
Measure around your wrist and cut the base of your cuff from the burlap.Don't forget to add an inch at each side.
Step2.
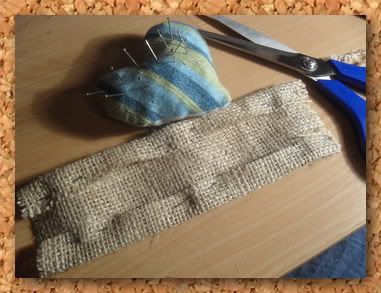
Pin back the sides.
Step3.
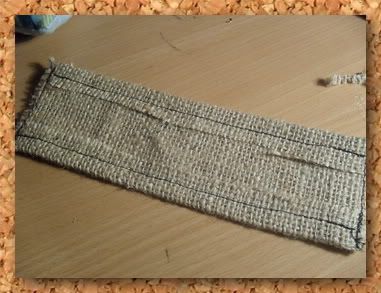
Sew around the outer edge.
Step4.
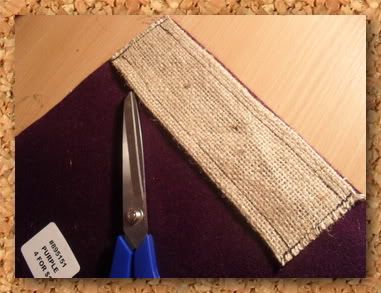
Trace the cuff on the felt.
Step5.
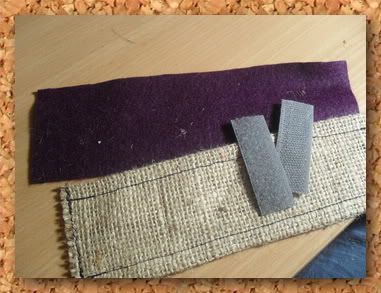
Cut out the back side of the cuff from the felt.I prepared velcro for closure,but you can use buttons or a zipper.
Step6.
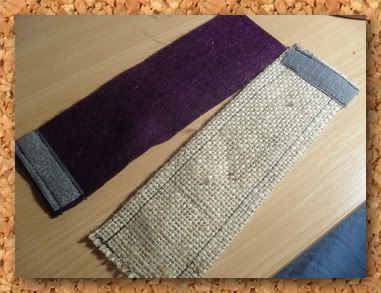
Sew on the velcro,but don't sew the felt on the burlap yet.
Step7.
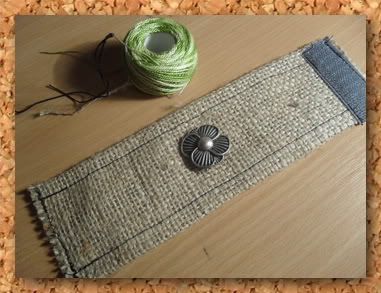
Sew the button on the middle of the cuff.
Step8.
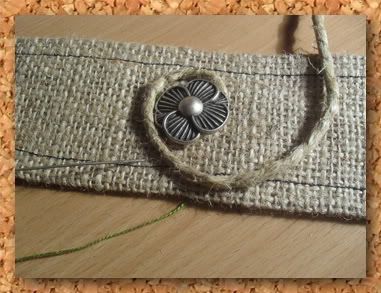
Sew a longer piece of manilla hemp under the button.
Step9.
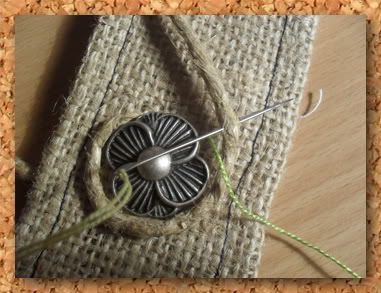
Start sewing the manilla on the burlap.You can see that I stiched through the manilla,so that the stiches are invisible.But if you think this is too complicated or you'r not patiente enough you can always glue the design on. :)
Step1O.
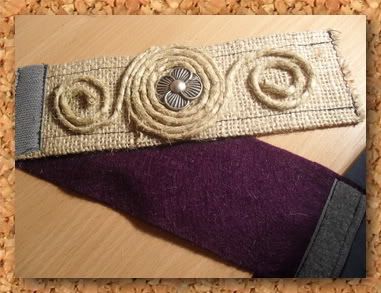
Sew the felt on the back of the cuff and try it on.
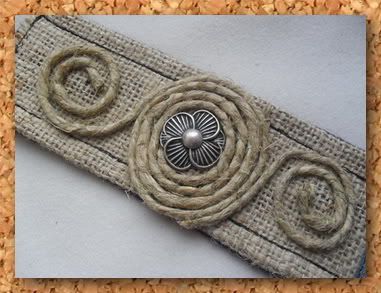
Done! :)
Hope you enjoyed! :)






That's awesome Vi:)
ReplyDeleteThank you! :)
ReplyDeleteSuper pretty! For some reason reminds me of the Edwardian era!
ReplyDeleteVery cool. The end result looks very elegant and expensive; yet your tutorial make it looks easy and affordable to DIY - great job :)
ReplyDeleteThank you! :)
ReplyDeleteSuper cool! Your projects are awesome! :)
ReplyDeletePRETTY, NEAT AND ECO FRIENDLY TOO
ReplyDeleteWhat a cool idea! Love it!
ReplyDeleteSo amazing....love this, thanks for the tutorial.
ReplyDeleteInspired and original! Thanks!
ReplyDeleteThis is a wonderful & awesome cuff...keep it up your smart blog..all the best...
ReplyDeleteLoved your blog so happy i found you.
ReplyDeleteLove the looks of this cuff.
Great work !
Aw so many lovely comments! Thank you everyone! :)
ReplyDeleteThat's cool!
ReplyDeleteLoved your work!
Uživala sam u svakom tvom tutorijalu i svakom izrađenom predmetu! Sve je jako lijepo :))))
ReplyDeletePozdrav iz Hrvatske!
Hvala Sanja!Drago mi je da ti se svidja moj mali svet! :)
ReplyDeleteSo cuteee, all i have to do now is wait untill my mum finishes her rice bag :D
ReplyDelete