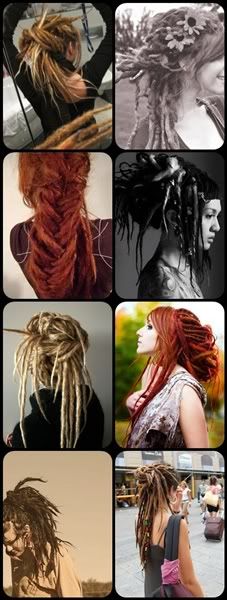
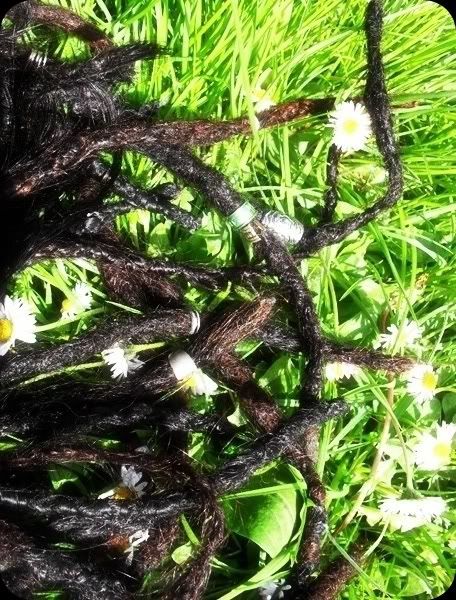
Some of the pictures I'w been saving for inspiration and motivation to wear my dreads differently sometimes.
With all this crazy hair on my head I rarely have the time or motivation to do different hairstyles. I just tie them in a big bun and let them decide what they want. :) Most of the time I sleep with the bun,wake up in the morning and that's the hairdo for the day.
So...when summer comes I get all motivated and try out different stuff with them and these hairtsyles are just amazing. I already tried out the braided style.
My dread journey in a few words:
I ended up with dreads 3 years ago when I got one made ba a friend.And that single little lock lead to the hole head! I needed almost a hole year until I finished my entire head. (I made them myself with a crochet hook)
Then a year ago,I decided I wanted some loose hair,so I outcombed 15 dreadlocks in the front. Beside it beeing painful as hell it was a really bad idea and after a few months I realized how much I miss having a hole head full of them.
So now I am growing them back! I started neglecting my hair two weeks ago and the results are already showing! These are my very first natural locks,I wont be crocheting them at all.
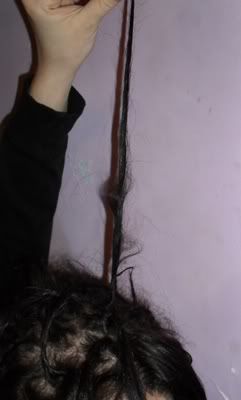
I have baby dreadlings! :) And they are getting along beautifuly with my 3year old dreads.
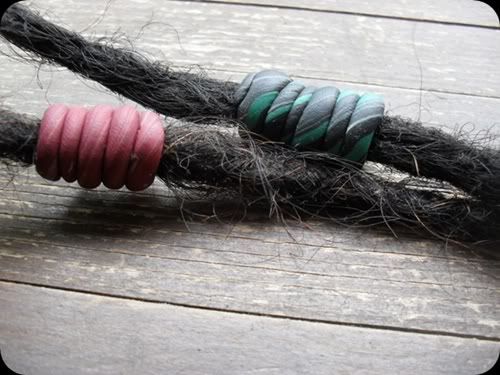
Oh,and I made some dreadbeads from scraps of polymer clay.Here are the ones I made from wire.
I will be posting some pictures when they start locking up even more.
Apr 27, 2011
Apr 20, 2011
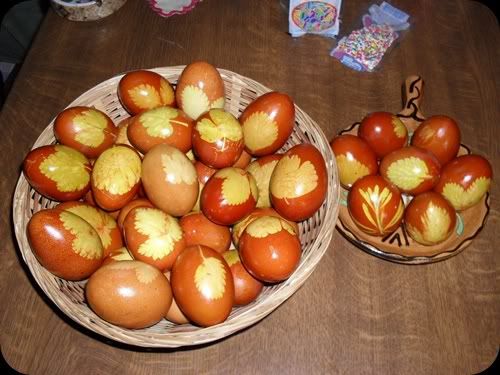
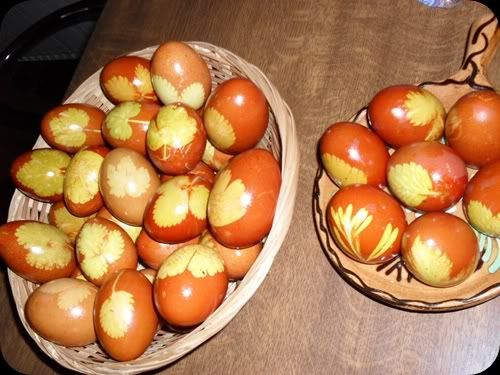
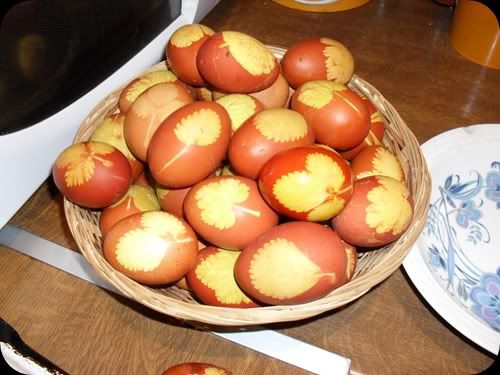
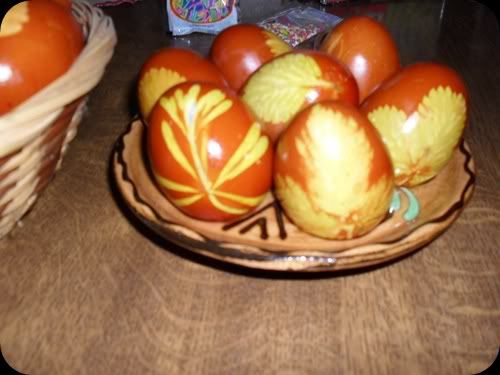
Naturally Dyed Easter Eggs Tutorial
It's my time to post an Easter related tutorial,so here it goes...
This was always a tradition in our family, my dear bako (Serbian granny) made them every year for the hole family to take home.More then ten years ago my bako passed away and me and my dad took over the tradition.
I made this tutorial with him last year so you could try it out too.
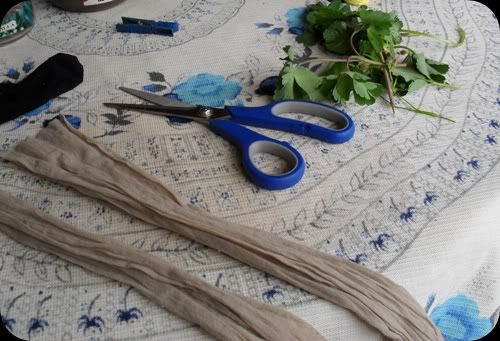
Things you will need:
-a pair of scissors
-nylon pantie hose
-pretty leaves- gather different shapes and sizes of leaves from around the house and garden
-eggs :)
- strong thread or embroidery floss
-plenty of onion skins (or what ever other vegetable or plant you are using)
What you can use for different colors:
onion skin-brown
carrot-orange
beet-purple
spinach-green
Step1.
Gather all the things you will need.
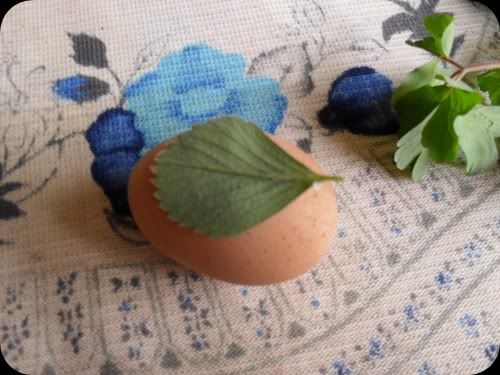
Step2.
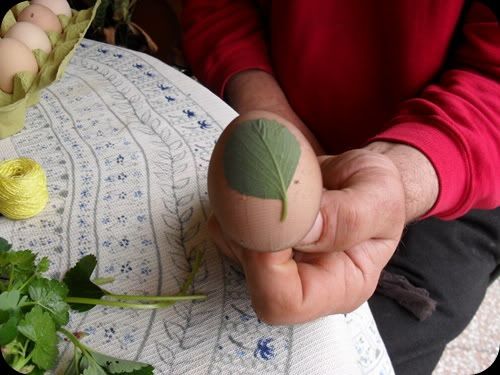
Put a leaf on top of the egg.
Step3.
Cut a square from the nylons and put it on the egg.Wrap it around the egg and tie it with a piece of floss.Be sure to make it firm and tight so the dye wont go under the leaf.
Step4.
Do the same with all the eggs.
Step5.
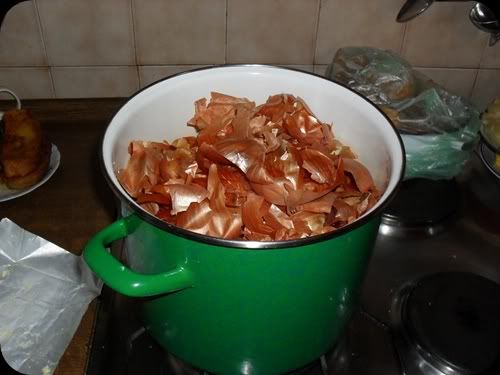
Put the onion skins in a big pot. Don't worry,you don't need as much onion skin,we colored more then 4O eggs with this amounth.
Step6.
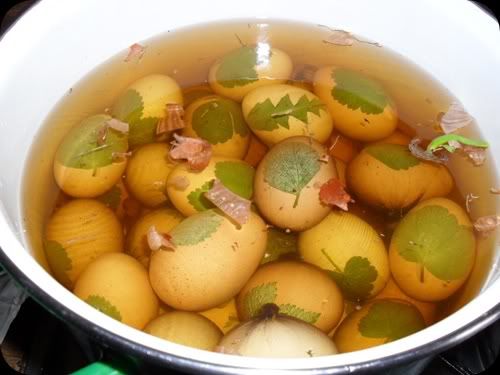
Put the eggs on top of the onion skin and fill the pot with water.
Step7.
Cook the eggs this way for 9-15 minutes.
Step8.
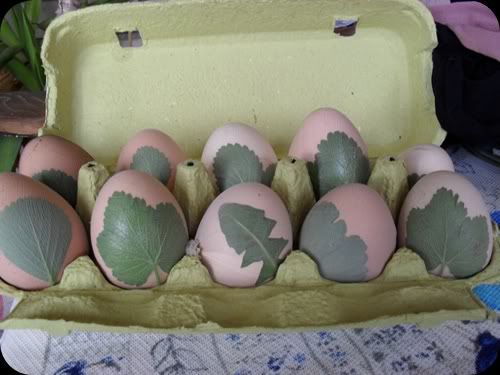
Cut the nylons off and peel the leaves from the eggs.Be sure to do this when they are still hot,because after the eggs cool down the leaves will stick to them.
Step9.
To make the eggs nice and shiny, put some oil on a paper towel and rub the eggs with it.
All done. :)
Happy Easter everyone!
Apr 14, 2011
Great Polymer Clay Tutorials
I wanted to share some awesome tutorials I found and plan to try out soon.
First of all here are the awesome tutorials made by Sandra Z. over at So Chick!handmade jewelry.
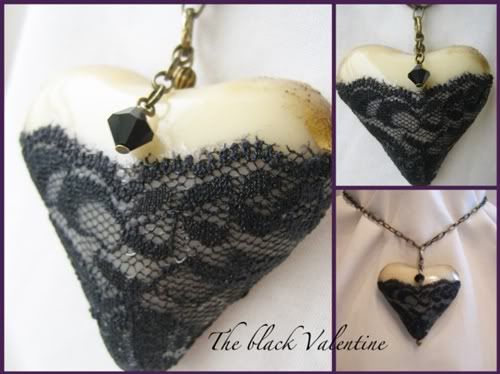
The Black Valentine Tutorial where you can learn how to combine lace with polymer clay and create a lovely heart shaped pendant.
She also shows us how to make a beautiful lace cane,tutorial here.
And check out this awesome tutorial on how to use up all those scraps of clay.
Check out her blog for even more awesome tutorials.
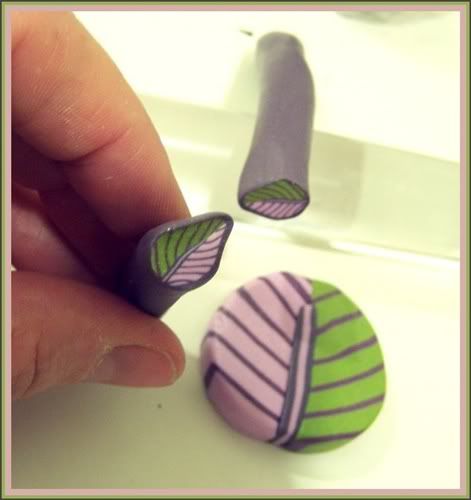
Here are two great tutorials I found on Parole de Pate.
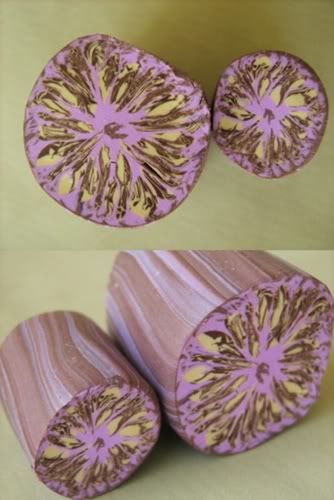
Leaf cane tutorial
and this swirly cane tutorial
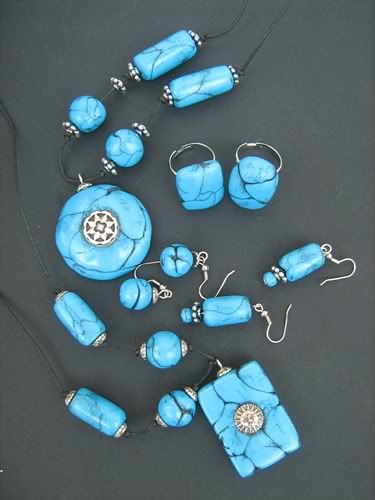
And last but not least,check out this lovely tutorial over at Dokona domaćica's blog.She shows us how to make beautiful turquoise beads using acrylic paint and polymer clay.I can't wait to try this out! Look at all the amazing jewelry she made:
So...be sure to check out all the blogs and tutorials.I'll be posting some pictures of the results myself. :)
Apr 5, 2011
Purple-Black Bag Finished
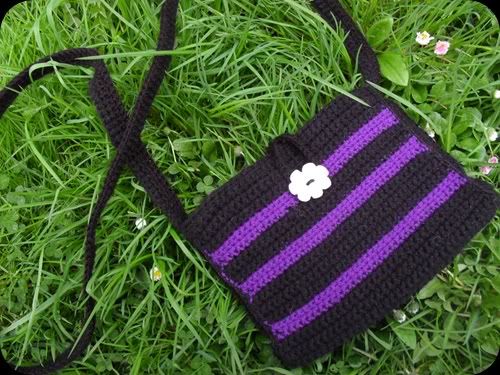
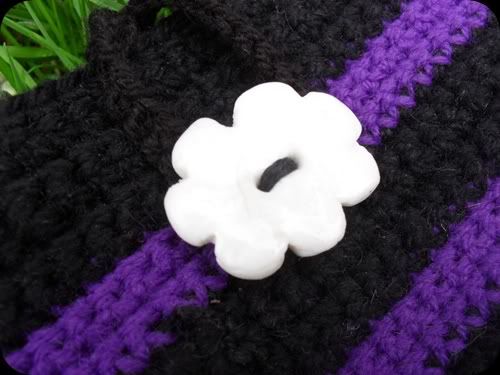
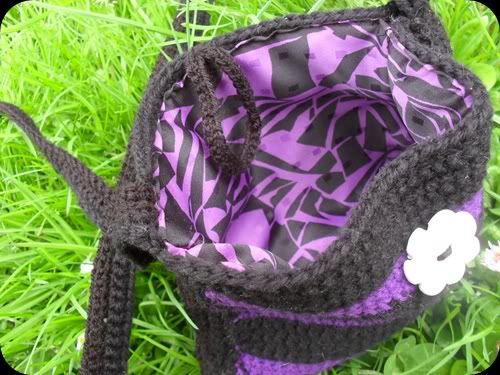
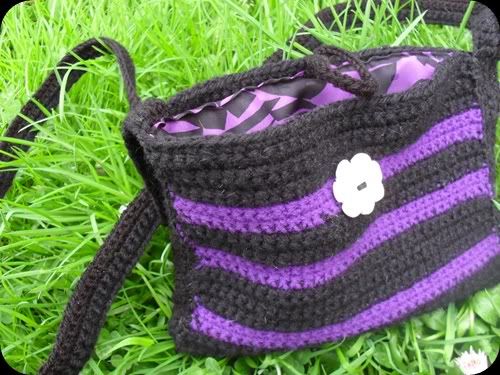
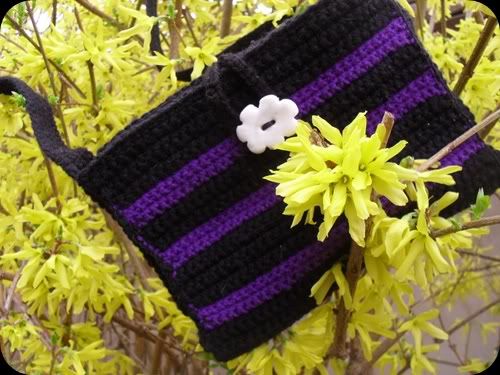
I finished the bag (purse?) yesterday and it only took me two days! :) I really like the way it turned out and I still think it's a bit too small. But that is only because I like and own big,confy bags so I'm used to having plenty of space in them for all the rubbish I carry around. :)
It is big enough for my wallet,cell phone and cigarettes. And I added a little cloud button that I made from polymer clay.
And this is my first ever crochet bag that has lining sewn in. From my fave fabric! :) I'm saving this fabric for a pair of wrap pants,wich I will hopefully make until summer.
Love the colors on this picture. :)
Apr 2, 2011
New project and goodies
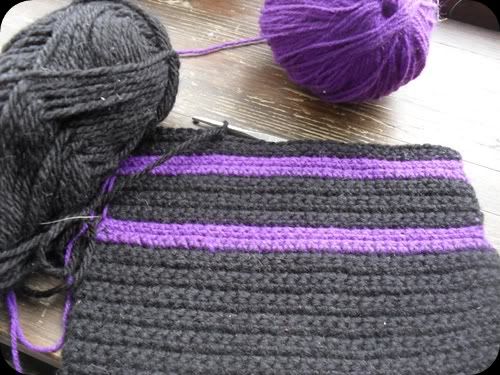
I started on a new crochet project a few days ago and I almost forgot how much I enjoy crocheting. :) It will be my new bag for the summer once it's finished.
I plan to make a cloud shaped button from clay for it too.
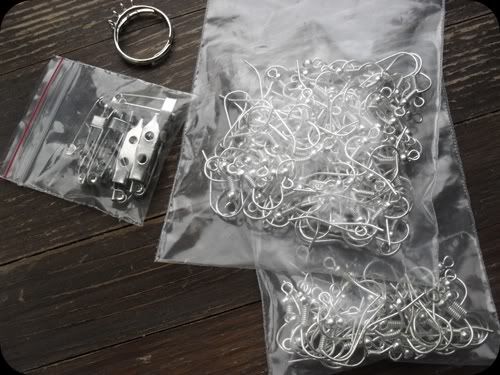
Also,I got a bunch of earring hooks and brooches yesterday from Ul-chick Nakit.
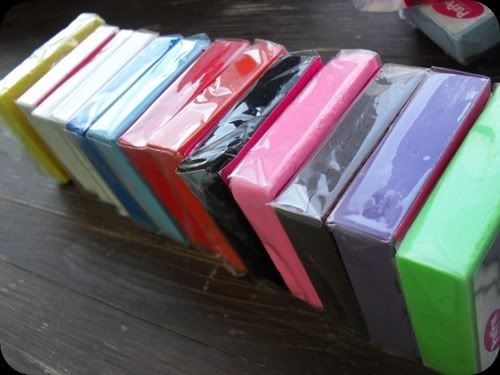
Aaaand a big range of lovely colors of polymer clay to play with.I don't think I ever had so many colors of clay at once.
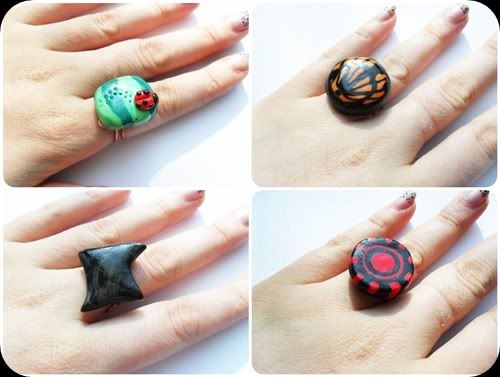
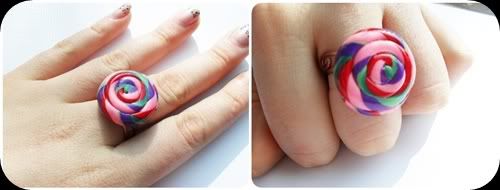
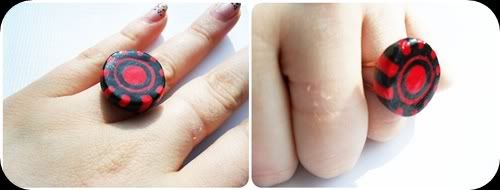
And here are some pictures of the new rings.All of them have ring bases that I made myself.
Oh,and you should go check out my friend Mark's shiny new blog HERE. You can submit your tutorial and if you follow you can even win an awesome T-shirt every month. Not to mention the interesting themes and wonderfull woodburning he makes. So...GO! :)
Hope everyone has a great weekend!
Subscribe to:
Posts (Atom)