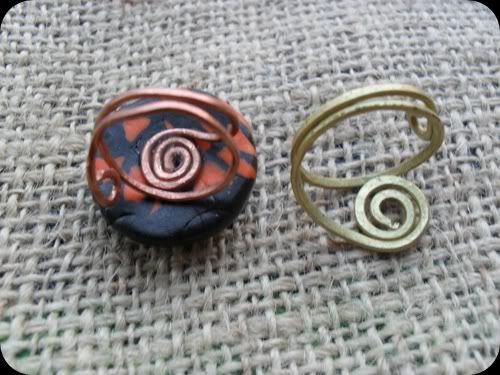
This is how they look without the clay.
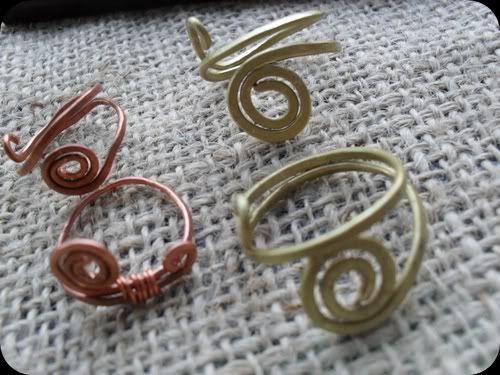
-tutorial-
Step1
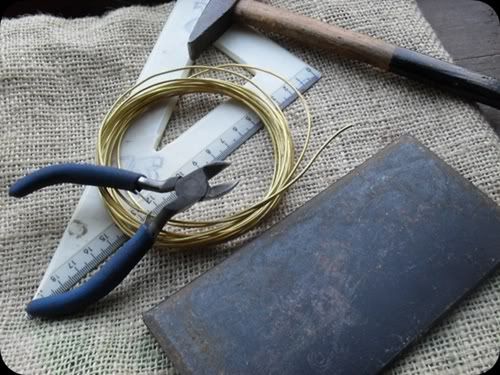
Gather the things you will need:
- thick wire (I don't know what gauge it is) I got 5 meters of the wire for really cheap at the craft store.
- wire cutters
- hammer
- a piece of wood or iron
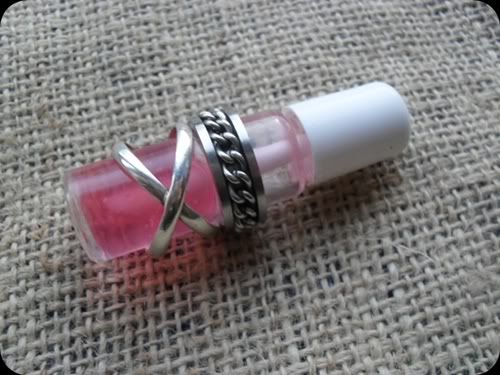
- and some kind of an item that is the size of your rings.I used a little bottle of nail polish from Avon.
Step2
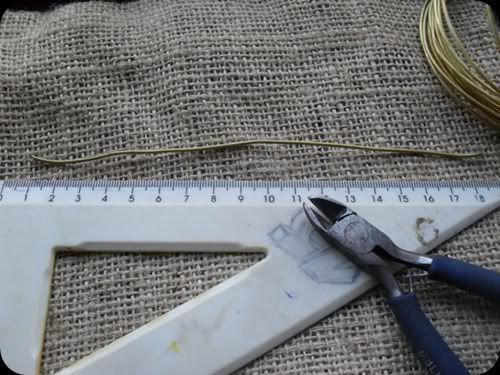
Measure and cut 17cm of wire. If you want your rings bigger cut a longer piece.You can always resize it after you are finished.
Step3
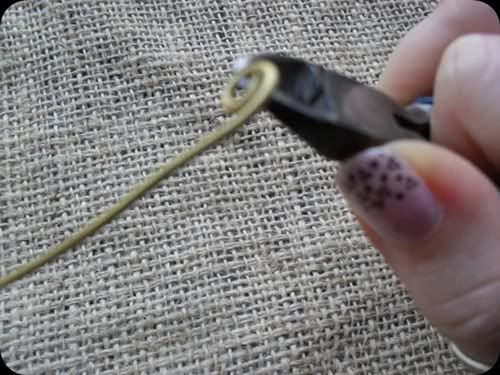
Curl up one end of your wire to form a swirl.And curlp up a little bit the other end.
Step4
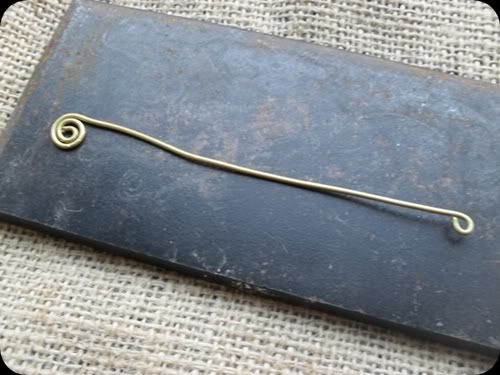
This is how it should look like.Now get out your hammer and piece of wood or iron.
Step5
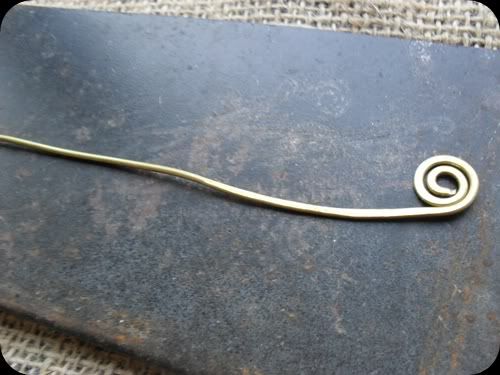
This step is really loud and annoyng,so better do this outside or in a family-free room. :) Start hammering the wire from the swirly end.
Step6
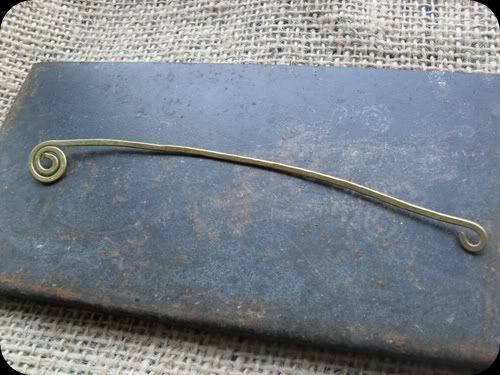
Hammer the hole thing flat. :) Trust me,it's easier then it sounds.
Step7
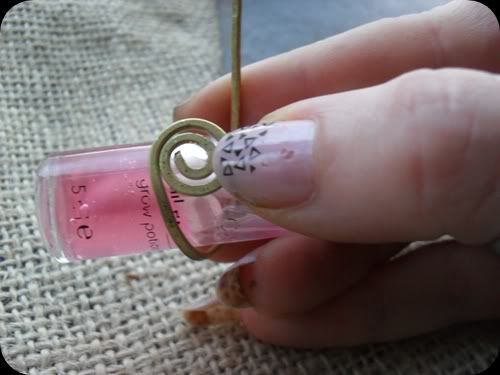
Start wrapping the wire on the item you are using as the form. Start by holding the swirl down with one of your fingers and slowly folding the rest of the wire on.
Step8
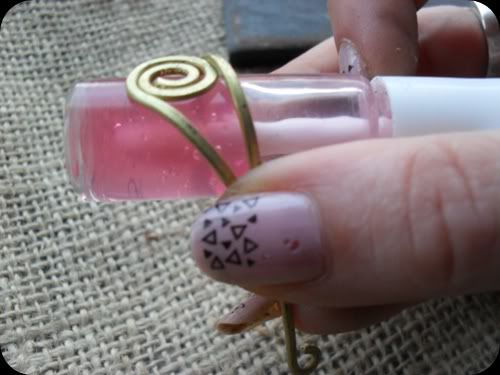
Keep folding the wire.
Step9
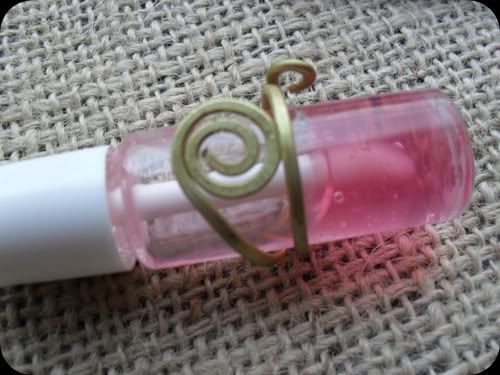
Fold the end of the wire to the side of the ring base.
Step1O
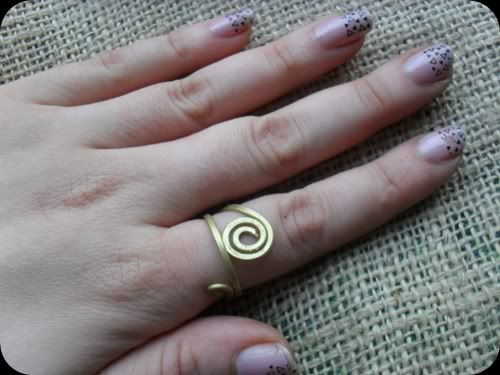
When you get the ring off from the form you will need to adjust the shape of the ring a little bit.Try it on aaaand...your done!
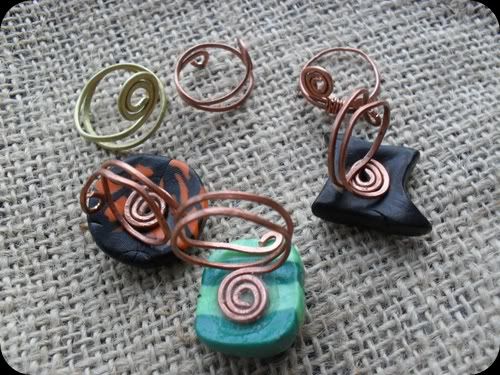
Now just glue your ring on the base as you would do with the ones you got at the store.
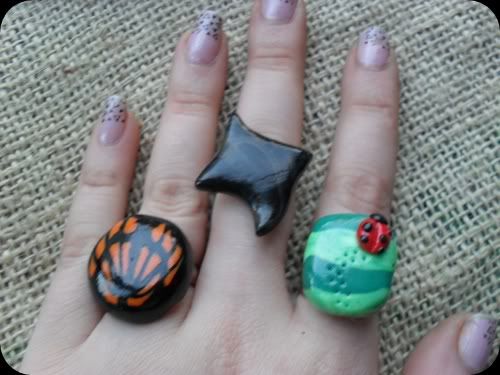
You can't even tell they are home made. :)
If you have any questions I'm more than happy to answer them. :)
Hope my tutorial helped!enjoy! :)




That is so clever! Love your approach. So much better than store- purchased stuff!
ReplyDeleteI have exactly the same problem where I am and can never find what I need. This is a lot better and falls in line with the handmade items I make so I can say the ring base is also handmade. PERFECT!! Now to get your hands on a ring sizer so you can custom make them to permanent sizes!! hehe
ReplyDeletexo Steph
you can get a plastic ring mandrel fairly inexpensive at your local craft store. This is a great design and would look neat with just the wire part . awsome
DeleteI know my walmert has a plastic ring mandrel for $5.00, it has a slight "divit" in the back of it so when you are wrapping wire with a bead on it it will fit the size and make it easier to wrap ...
DeleteThankyouthankyouthankyou!!!! I have been having the same problem finding decent, and decently priced ring blanks and this is perfect! Now, if I can only use this technique to figure out bracelet blanks! (PS, From what I can tell, I think you're using 12 gauge wire. You can get it in the jewelery section, and the floral section. Some places have them in mutliple colors. It's an aluminum based metal...)
ReplyDeleteit might be 18 gauge, semi round .. but you may be right, I know that 12 gauge is very hard wire ... anything 18 gauge and and to about 20 gauge is best to make a ring - 14, 16 and sometimes 18 are best when making bracelets ... most times 14, 16 and 18 can be purchase at a hardware store ...
DeleteYou are so Damn TALENTED!!!!! :)
ReplyDeletelove ur work!!
http://www.fashionisnart.blogspot.com/
Now that's an awesome tutorial! Thanks for sharing, am just impressed :)
ReplyDeleteThat looks really simple, I will try it out, thank you!
ReplyDeleteThis is awesome!! Thank you thank you! I have so much wire at home just calling my name...I can now give it new life!! :)
ReplyDeleteThis is an awesome tutorial! Thanks Vi!
ReplyDeleteThank you very much, just the tut I needed :-)
ReplyDeleteSo cool! Thanks for sharing! =)
ReplyDeleteI would like to make this the "Tutorial of the Day" for April 2 on my blog.
ReplyDeletehttp://wiserunning.com/blog
odlican tutorijal,samo me interesuje gde to kod nas ima craft store gde si kupila zicu,a ako imas problem sa bazama za prstenje,mogu ja da ti posaljem ako hoces,u bgd ih ima u par prodavnica repromaterijala,na jednom mestu su 6 din. komad ali su obicni metalni malo robusni,na drugim mestima ne znam cene ali mogu da se raspitam,taman ovih dana treba da idem u nabavku pa cu znati tacno.
ReplyDeletepozdrav ,tanja
Again, great tute! I will be linking at http://www.handmade-jewelry-club.com/ in future post.
ReplyDeleteThanks!
Jane
http://www.handmade-jewelry-club.com/
Wow, I just tried and it came out ok. My wire is thin so twisted, Don't looks as good as urs but it's ok.
ReplyDeleteI'm ur newest follower, thanks :)
Glad you liked it Sabrina,and thank you for following! You have a really cute blog! :)
ReplyDeleteits awesome... i was looking forward for something like this
ReplyDeleteI made one of your rings after watching this. I love making jewelry but I don't wear any. I put the ring on my finger just to see what it looks like....I still have it on my finger. Best ring I ever had so thank you so much.
ReplyDeleteAbsolutely love this. It is also really cool without the clay. I love the way the wire ring looks!
ReplyDeleteABSOLUTELY LOVE THIS. NOW ALL I NEED IS A LESSON IN POLYMER CLAY. ;)
ReplyDeletePlunger clay is very easy too use you don't really need lessons it's like when you were a kid you just play with it,and make what ever you like then bake.it's fun to do with kids also.
Deleteyou can find all sorts of polymer clay tutorials on Youtube ... polymer clay is a great way to start your creativity with rings, bracelets and charms for bracelets ...
Deletewhat kind of wire is this
ReplyDeleteMake jewelry for friends etc. Fell in love with your ring base, neater then blanks you buy as it makes rings completely handmade.Thank you,
ReplyDeleteAwesome! Awesome!
ReplyDeleteI love it and its takes very little time I see, can I buy one from you as a pattern? I always have to have a pattern, where are you located? My email is
GrooveeCreations@gmail.com thank you for sharing.
Blessings,
Teresa
How is the clay attached to the ring?
ReplyDeleteyou can use E-6000 glue ... its fairly cheap ... you can get it Walmart or Dollar general - Walmart (at least mine does) has it in the craft section near the other glues and you can buy it regular size or you can get mini-size packs ..
Deleteit's just perfect for me ,bacause I too have a lot of beads and wire and was looking to use them,and make the base handmade,You read my mind.God Bless you !!!Thanks !!!!!!!!!!!
ReplyDeleteGreat Tutorial. Simple, Straight Forward.
ReplyDeleteI appreciate the way you keep it real by using things you have around the home, like the nail polish bottle.
Debbie Brady
Great tutorial, thankyou so much Violetta, I love your idea, very clever
ReplyDeleteAuli
I have to say i just found your rings by chance and i really love them i just started doing wire wrapping and really enjoy it,i think I'm gonna make a bunch of rings and leave them unwrapped so when i have someone who wants to buy one i can just size it to there finger.Thank you so much for sharing.Irene
ReplyDeleteThis is such an incredible idea...thank you! I wish I had thought of it on my own, but I'm content to try your idea. Again, thank you for being so creative and sharing!
ReplyDeleteThis is a very well put together tutorial for beginners ... you did a really good job in showing all of your steps ...
ReplyDeleteYea, it really help. Thanks a lot.
ReplyDeleteI didnt read the other comments, so maybe you answered this already, but I work with wire and polymer clay and glass. What kind of glue do you use? I have found that both E6000 and the Aileene's jewelry glue break down over time and the stone will just knock right off. JB Weld has been my best friend in re/ to making things stay (lol) but it's a hassle! What do you use?
ReplyDeleteWow! Beautiful!
ReplyDeletehey,
ReplyDeletethank you for sharing your wire ring idea. i'm thrilled. later tonight, i am going to the craft store and hopefully by the end of this weekend i will have created myself a wire ring. i like your style.
kimberley
My first attempt, does this take a lot of trial and error??? I'm using 18 gauge wire, should I start with something else, I just can't seem to catch on, Advice?
ReplyDeleteHey, great tutorial! I've actually linked to it in my post, 10 Beautiful Jewelry Designs for Beginners, here's the link: http://jewelry-workshop.com/10-beautiful-jewelry-designs-for-beginners/
ReplyDeleteThanks for this awesome design!
Just made nthis ring using 16 gauge wire and it came out perfect. Thank you for the tutorial. Love the design. I think it would make an awesome bracelet too. I am going to try to make a matching bracelet.
ReplyDeleteI can't seem to hammer the wire without marring the colour. Are there any techniques I can use to prevent this?
ReplyDeleteVery nice I'm just beginning to make jewelry and this is so pretty with and without the stones attached.
ReplyDeleteHow would you go about wrapping a bead in the center?
ReplyDeleteGreat and that i have a super offer you: How Much Are House Renovations Stardew Valley renovate my house
ReplyDeleteRespect and that i have a swell give: Where To Start Home Renovation house renovation vancouver
ReplyDelete