It's really easy, takes only a few minutes to make one, and looks much better then the plastic container I used before.Oh, and it's from recycled jeans.
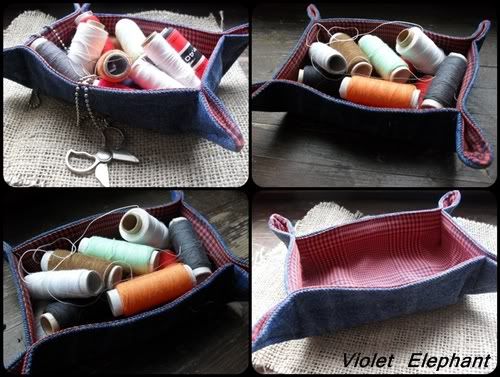
You will need:
-a piece of a pair of old jeans
-fabric of choice
-scissors
-measuring tape
-pins
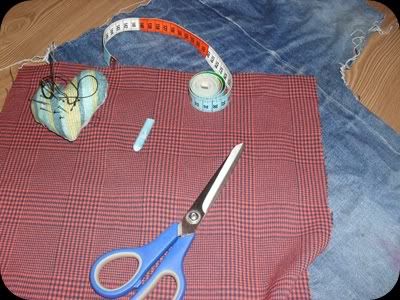
Step1
Cut out your box from both materials.(mine measured 24 x 19 cm)
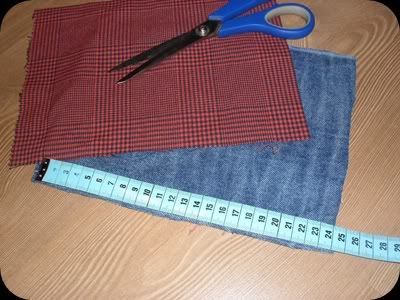
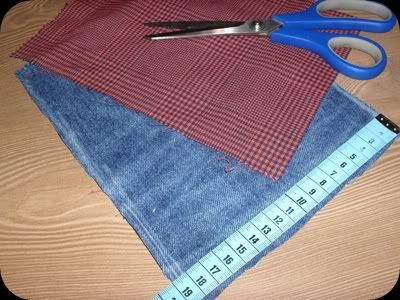
Step2
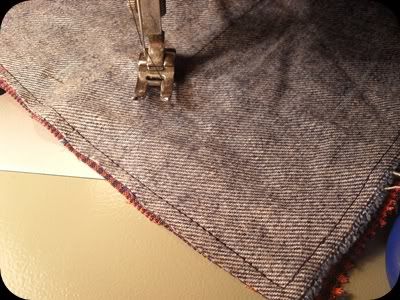
Pin and sew wrond sides together.Don't forget to leave open space for turning it inside out.
Step3
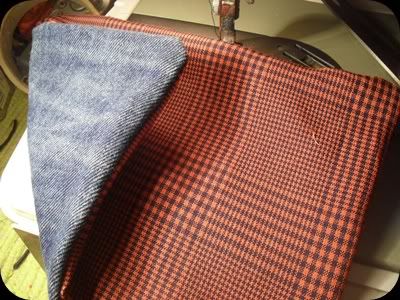
Turn it inside out and iron it flat.
Step4
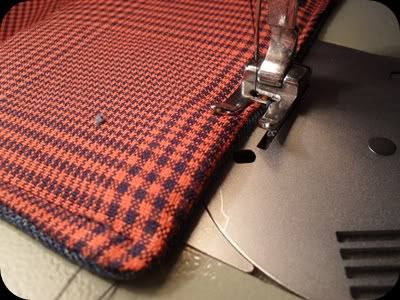
Sew down the sides.
Step5
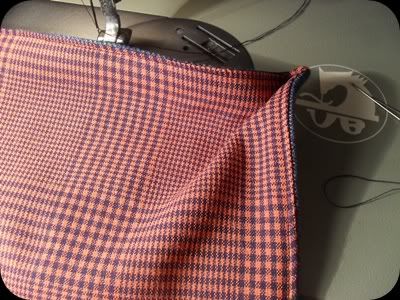
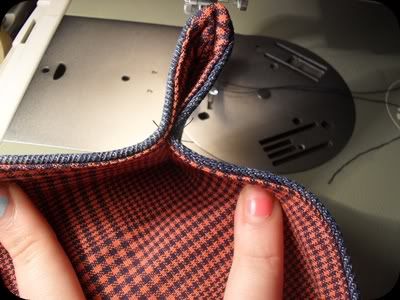
Fold one corner on the other like pictured.Pin the two corners together.
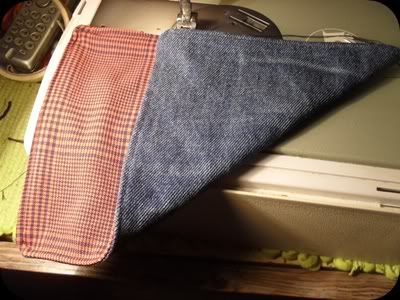
It should look like this when you unfold it.
Step6
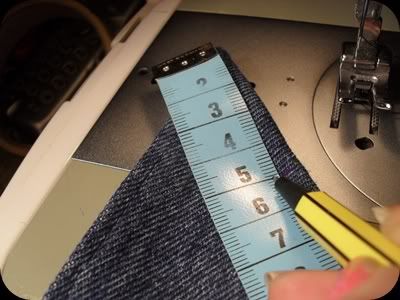
Measure and mark 5 cm on the side of the corner.
Step7
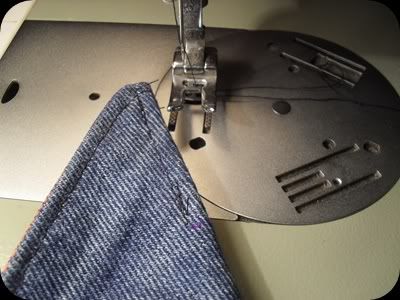
Sew it down.
Step8
Now sew a straight line from the side of your box to the end of the line wich you sewed in the previous step.
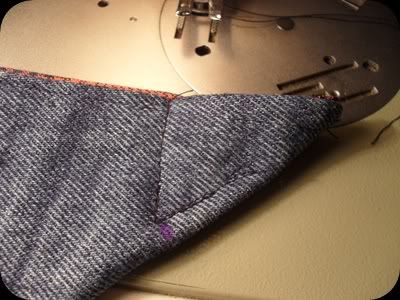 (sorry if the instructions aren't really clear,but hey,at least the pictures are! :)
Step9
This is how your corner should look like when your done.
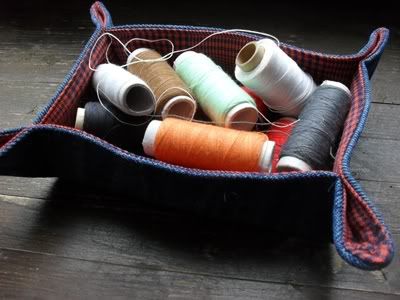
Do each corner the same and your box is finished! :)
If you have any questions I'm more then happy to answer them!
Hope you enjoyed!Have a lovely Valentines-day everyone!






I'll have to bare this in mind for mothers day because my mum would LOVE it! It's lovely and the fabrics really go together! Thanks for the tut :)
ReplyDeletethey were selling these at few craft shows i've been to; also, they make vase "covers" similar to this only more rounded - the vase slips inside :) I love these!!!
ReplyDeleteKim T.
Wow, that was easy and I love how it looks. Recycling old denim is one of my favorite things to do.
ReplyDeletewow, i love it. so cute & super useful!! thanks for sharing!
ReplyDeletethanks. can't wait to give this a try. love the combination of fabrics.
ReplyDeletethat's brilliant, love it.
ReplyDeletethanks for sharing
martine
Hey, this is neat! I have some sturdy felt that'll probably do the same trick. Thanks for the inspiration!
ReplyDeleteThis is such a handy little box! I linked to your tutorial on Craft Gossip Sewing:
ReplyDeletehttp://sewing.craftgossip.com/tutorial-simple-fabric-box/2011/03/13/
--Anne
very cute idea using the old jeans...another recyled fun idea!!! Thanks!
ReplyDeleteI made a few of these from craft felt rectangles last year.. one sits on my night stand and serves as a small "launch pad" for my keys and things from my pockets each day :)
ReplyDeleteThis was so easy, I made 3 of them in a short time. Thank you! You can see my blog post about them here: http://faithfulstewards.wordpress.com/2011/03/13/weekend-project/
ReplyDeleteTks for visiting my blog!
ReplyDeleteI hope you have a lot of visits from Brazil!
Gracias por este tutorial, está genial!!
ReplyDeleteSaludos
Loly
Brilliant! Thanks for sharing this very useful little "bowl" and for producing such an excellent, easy-to-follow tutorial.
ReplyDeleteGonna make lots of these little critters!
Marion
UK
Hi Violleta,
ReplyDeleteThanks so much for this gorgeous tutorial. Love it!!
Have a look at my blog I’ll be so glad.
Hugs from Portugal
Ana Love Craft
www.lovecraft2012.blogspot.com