why,but I made a Tumblr. Check me out.
Jun 15, 2011
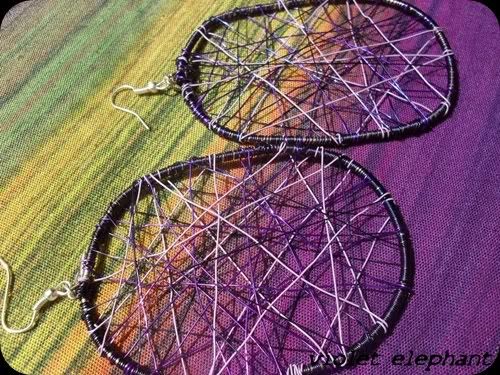
Wire Earrings Tutorial
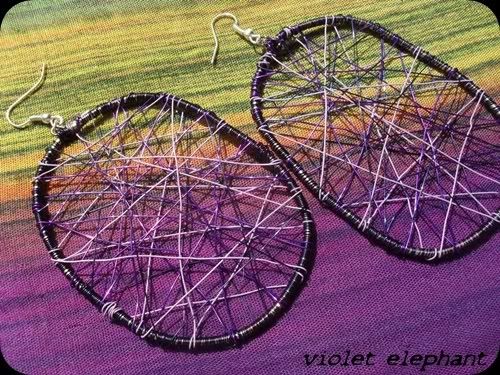
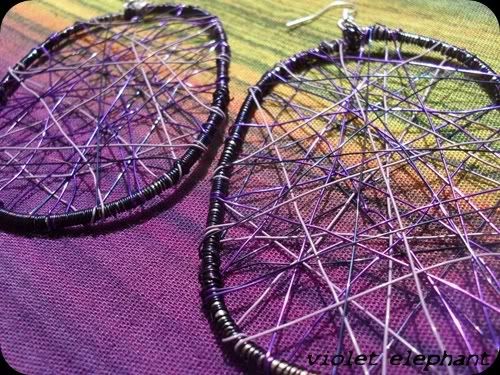
The other day I broke one of my favorite large hoop earrings and just because I hate throwing stuff out I figured a way to turn them in to a pair of new and even better earrings.
And I took pictures so I can show you! :)
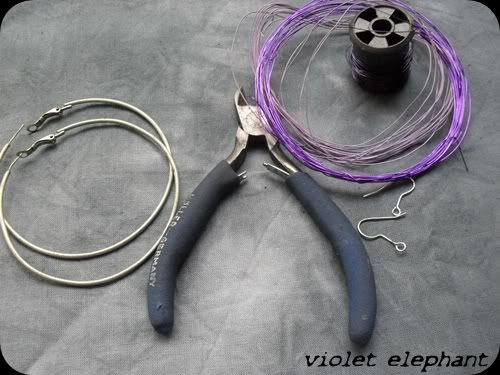
Things you will need:
-a pair of hoop earring or two wire bangles (if you don't have these at hand,you can always use some thick wire)
-wire cutters
-thin wire in colors of choice
-earring hooks
Let's get started!
Step1
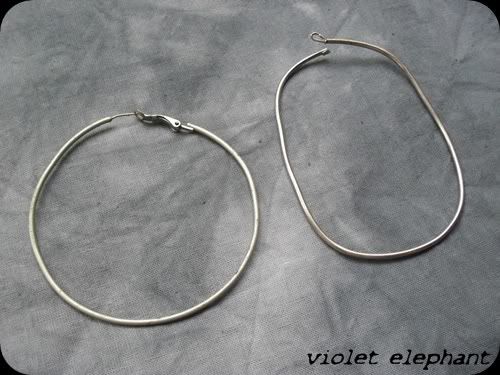
Bend the earrings (or wire) to the shape you want. I used a parfume bottle to get the shape.You can leave it the way it is too. :)
Step2
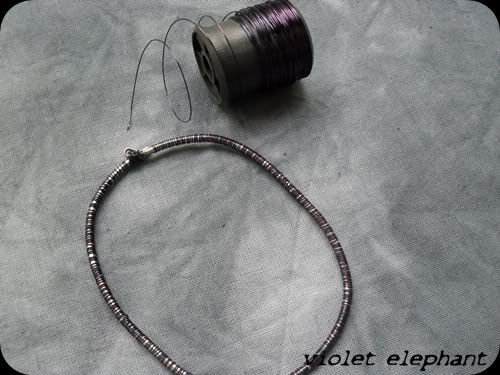
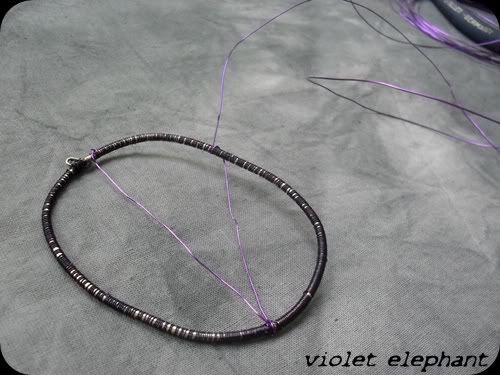
Get your thin jewelry wire and wrap the earrings with it. You don't want to leave this step out,this will keep the thin wire from slipping around on your earrings.
Step3
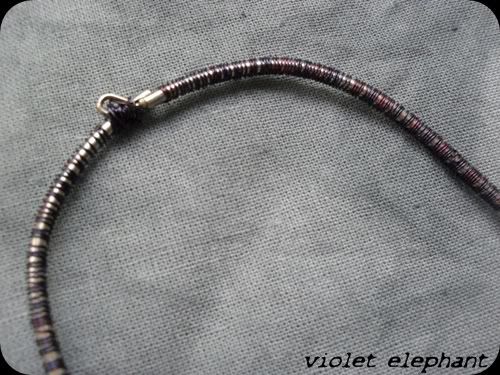
Make a loop for the earring hooks.
Step4
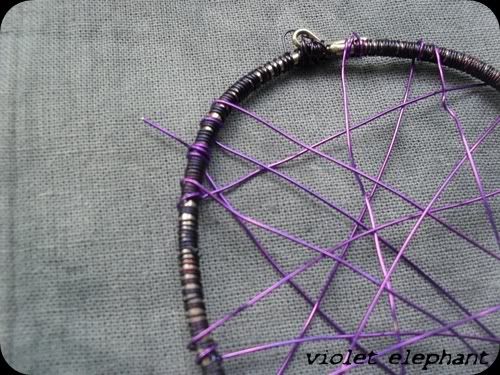
Start wrapping the colored wire on the earrings.
Step5
When you are done with one color,be sure to wrap the wire many times to secure it.
Step6
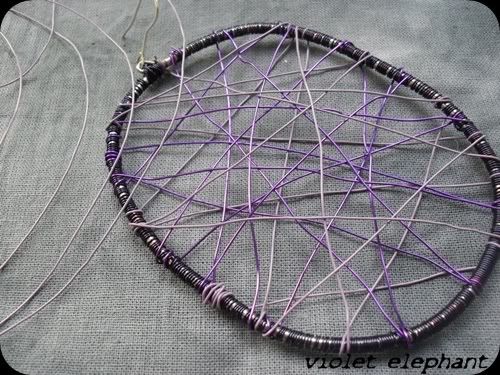
Add colors as you go. I used light purple,purple and dark blue wire.
Step7
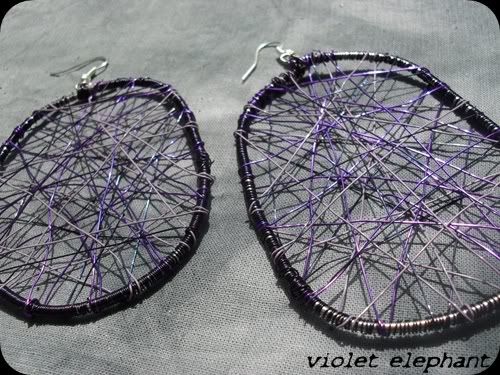
Add the earring hooks to the loop you made on the beggining and you are done! :)
You made something awesome from something plain and boring.Enjoy!
Jun 7, 2011
Wool Dying at Home
The other day we did some wool dying with Anna. We are going to make some wet felted earrings to sell on this years Exit Festival and since I only have natural sheep wool at home,we needed some colors.
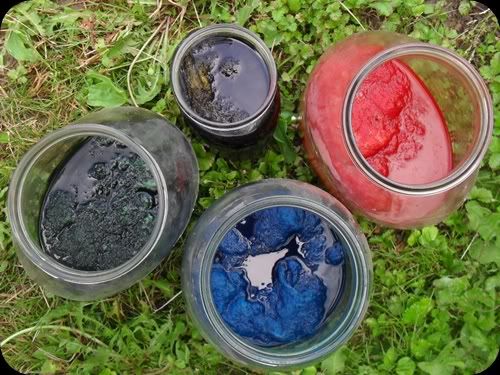
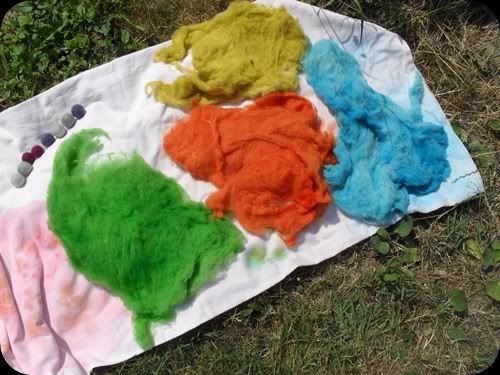
We used simple fabric dye for coloring the wool. The trick is,you need to add a table spoon of salt to the water before adding the wool. We cooked every color for about 25 minutes and left the wool soaking in the jars for a whole night.
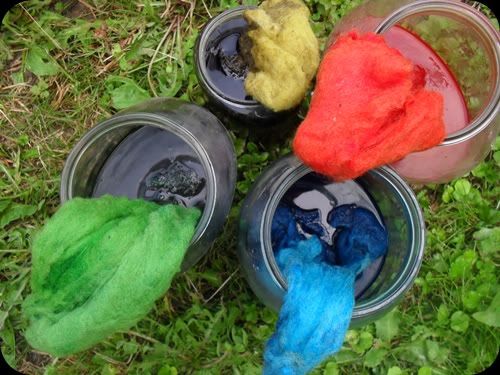
This is what the colors looked like after cooking.
Now,here is another trick I am going to tell you. After we left the wool soaking the hole night,we washed every color in cold water in wich we added a cup of vinegar.
The vinegar helps preserve the bright colors and they won't wash or fade out from our future projects.
After washing the wool with clear,cold water again I left them out to dry on the sun.
You always need your freshly dyed wool to dry completly before using it for any project.
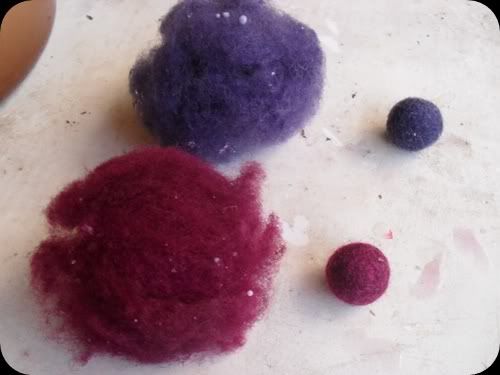
We used up some older dyed wool to make a few tiny balls wich we will turn in to earrings later.
Here is a before and after picture of the wool.
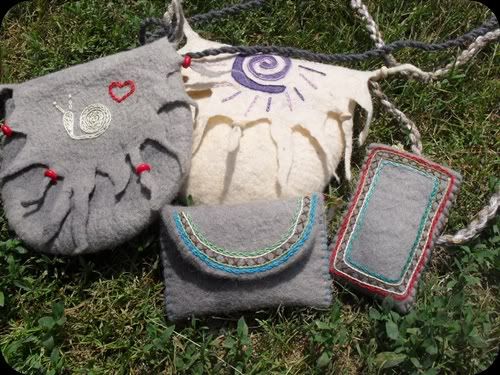
I did some wet felting the other weekend,the result is two bags,a wallet and a cell phone pouch. These will also be on sale at the Exit Festival.
I promise to show more detailed pictures in my next post.I'm going to work on my crochet bag now.
We used simple fabric dye for coloring the wool. The trick is,you need to add a table spoon of salt to the water before adding the wool. We cooked every color for about 25 minutes and left the wool soaking in the jars for a whole night.
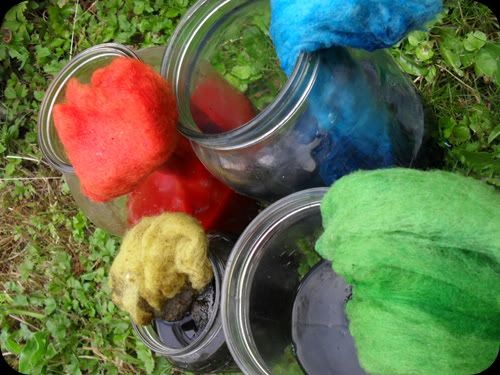
This is what the colors looked like after cooking.
Now,here is another trick I am going to tell you. After we left the wool soaking the hole night,we washed every color in cold water in wich we added a cup of vinegar.
The vinegar helps preserve the bright colors and they won't wash or fade out from our future projects.
After washing the wool with clear,cold water again I left them out to dry on the sun.
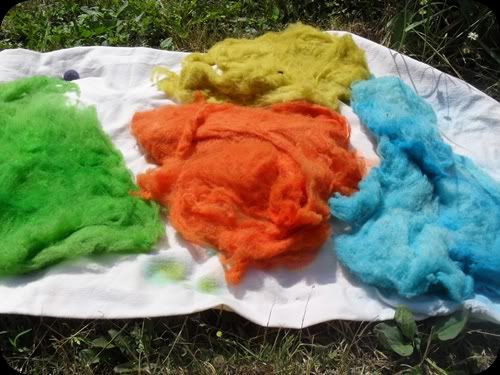
You always need your freshly dyed wool to dry completly before using it for any project.
We used up some older dyed wool to make a few tiny balls wich we will turn in to earrings later.
Here is a before and after picture of the wool.
I did some wet felting the other weekend,the result is two bags,a wallet and a cell phone pouch. These will also be on sale at the Exit Festival.
I promise to show more detailed pictures in my next post.I'm going to work on my crochet bag now.
Cat Collar with Bow
As some of you may know,my Lilly went missing three weeks ago. After two weeks of not knowing where she is I started to loose hope and secretly said goodbye in my heart.
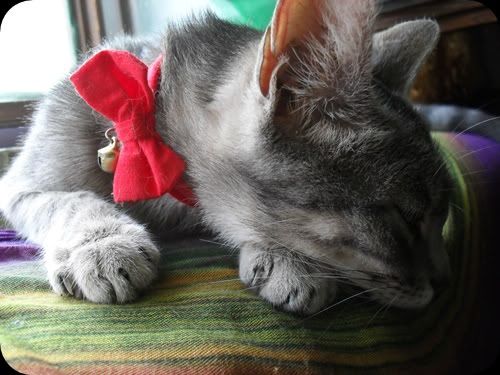
You can imagine how happy I was when she showed up at our door the other morning like nothing even happened. You can see on the pictures how much weight she lost,but don't worry I'm already on it to stuff that belly back to normal.
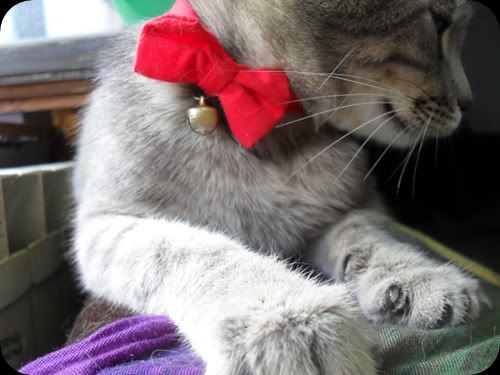
So as a welcome home gift I made her this cute bow collar.
1.measure around your pets neck (don't forget to make the size confortable)
2.cut out a strip of fabric (in my case red,so the collar would be extra girly for my Lilly)
3.sew the sides together and sew down the sides
4. -this is important- add a piece of elastic to the collar!
5.make a bow from the same fabric (there are tons of cute tutorials out there)
6.add a small bell to the bow
7.sew the bow on the collar and show it to your pet :)
I must say,my Lilly didn't even notice that I changed her collar. But thats because she is used to wearing one. :) Is she cute or what? she reminds me of a grey,skinny but cuter version of Hello Kitty. tee hee
Subscribe to:
Posts (Atom)