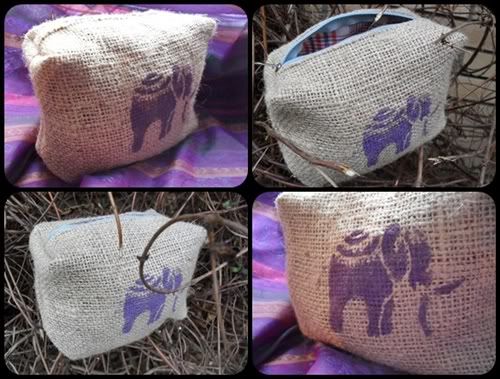
I decided to make some polymer clay rings to sell,but turns out it's almost impossible to buy ring bases here.So after I finished beeing mad at the local craft store I came up with the idea to make my own ring bases. And I'm going to share the idea,since I know some of you have trouble finding tha bases too.
This is how they look without the clay.
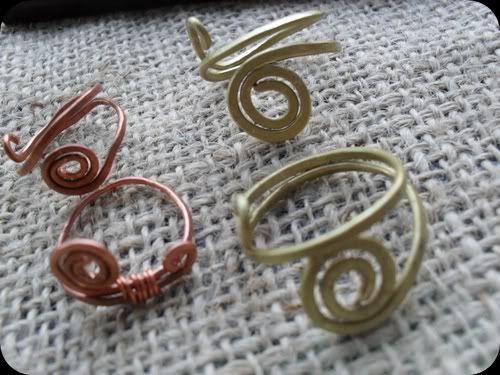 -tutorial-Step1
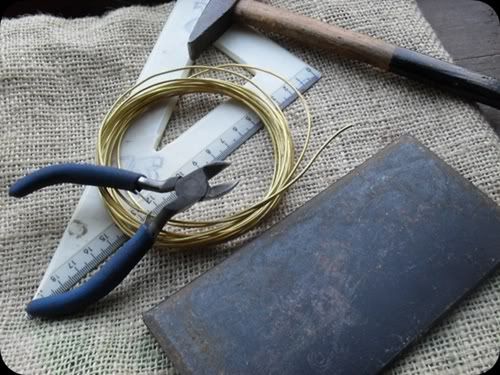 Gather the things you will need:
- thick wire (I don't know what gauge it is) I got 5 meters of the wire for really cheap at the craft store.
- wire cutters
- hammer
- a piece of wood or iron
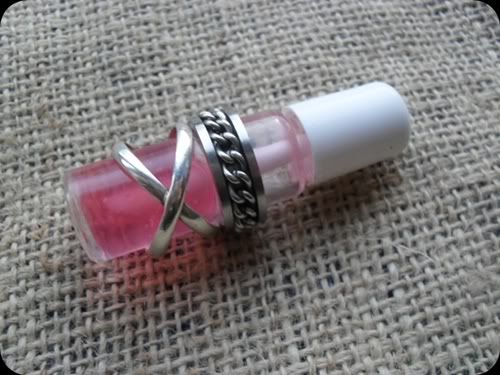
- and some kind of an item that is the size of your rings.I used a little bottle of nail polish from Avon.
Step2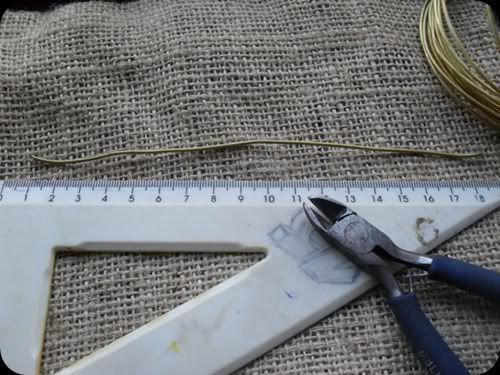
Measure and cut 17cm of wire. If you want your rings bigger cut a longer piece.You can always resize it after you are finished.
Step3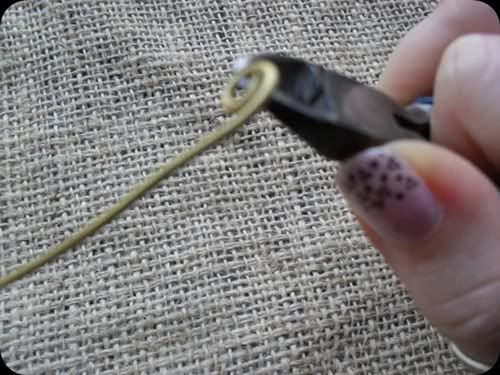
Curl up one end of your wire to form a swirl.And curlp up a little bit the other end.
Step4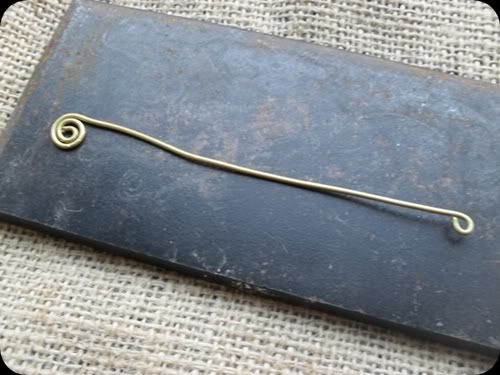
This is how it should look like.Now get out your hammer and piece of wood or iron.
Step5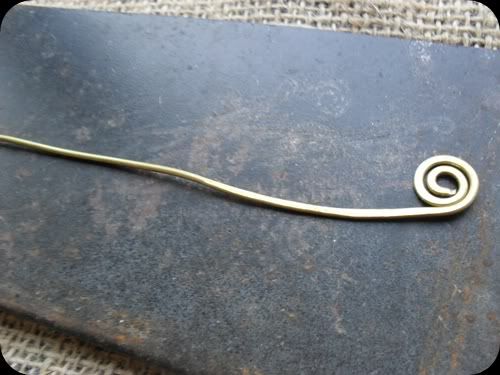
This step is really loud and annoyng,so better do this outside or in a family-free room. :) Start hammering the wire from the swirly end.
Step6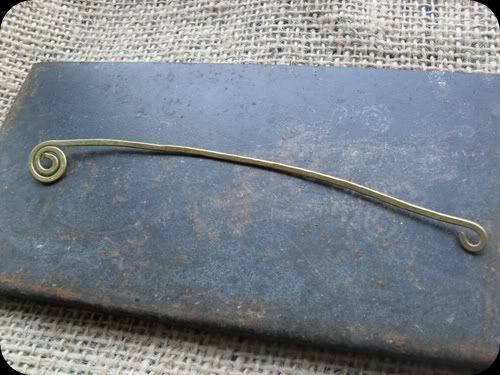
Hammer the hole thing flat. :) Trust me,it's easier then it sounds.
Step7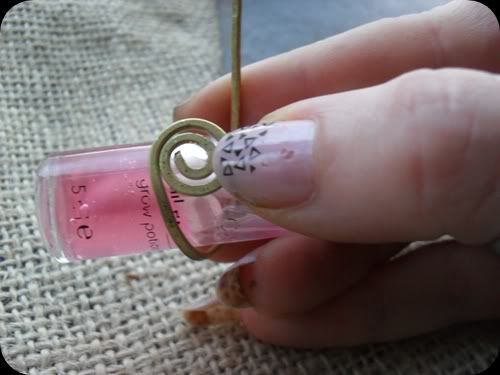
Start wrapping the wire on the item you are using as the form. Start by holding the swirl down with one of your fingers and slowly folding the rest of the wire on.
Step8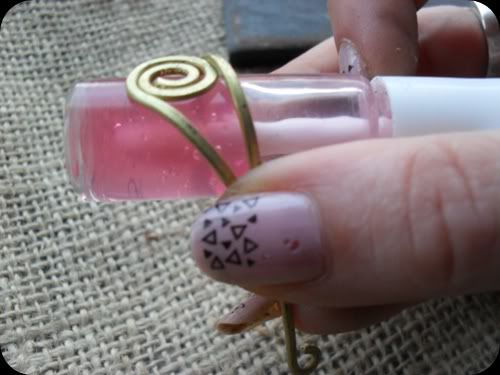
Keep folding the wire.
Step9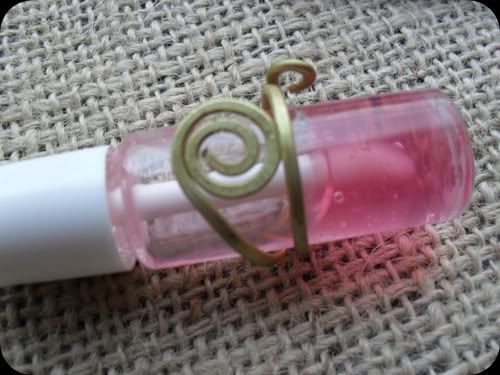
Fold the end of the wire to the side of the ring base.
Step1O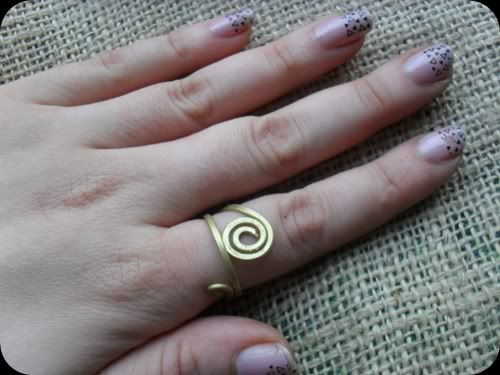
When you get the ring off from the form you will need to adjust the shape of the ring a little bit.Try it on aaaand...your done!
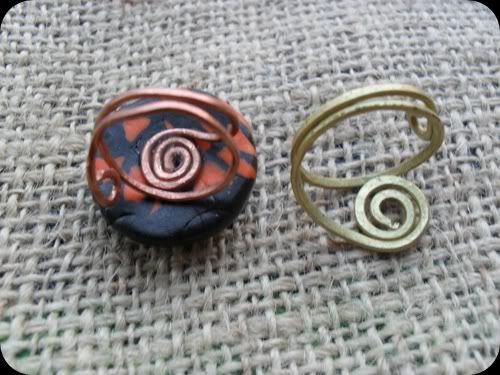
Now just glue your ring on the base as you would do with the ones you got at the store.
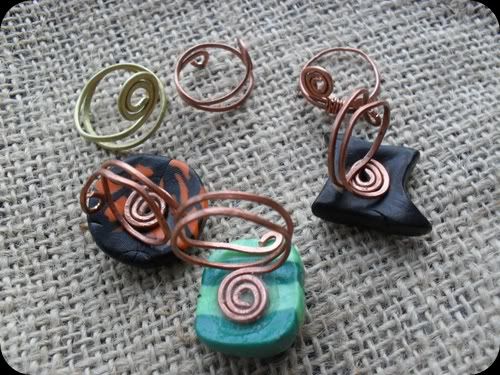
You can't even tell they are home made. :)

If you have any questions I'm more than happy to answer them. :)
Hope my tutorial helped!enjoy! :)

