Nov 24, 2010

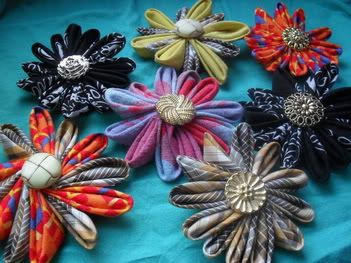
On my table

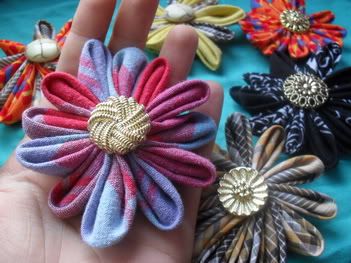
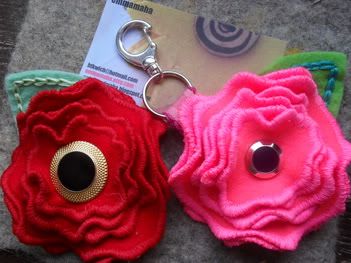
Origami fabric flower brooches created using this tutorial.
Photobucket
Photobucket
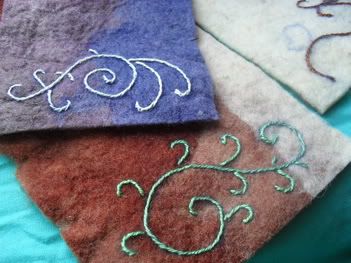
Some embroidery on felt.They are going to be pocket purses once I'm finished.
Photobucket
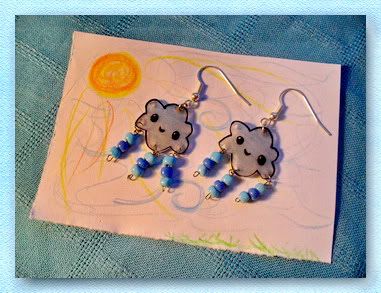
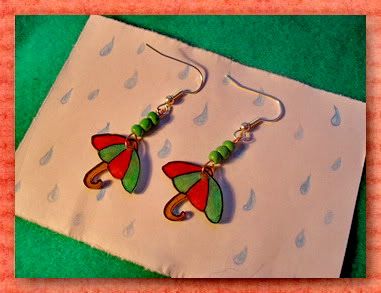
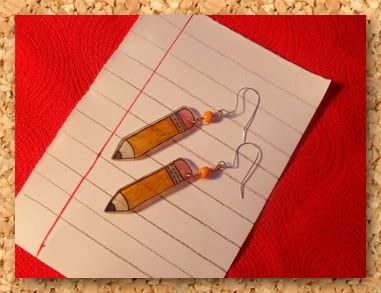
And a few from the 2O shrink plastic earring I made.
If its raining...
Photobucket
...you will need an umbrella...
Photobucket
...or better stay at home and write...
Photobucket
Image and video hosting by TinyPic

Giveaway items arrived!

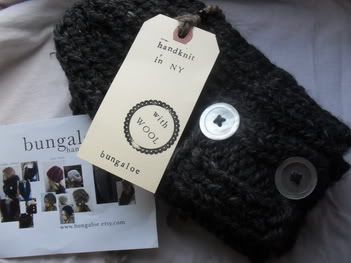
The awesome Bungaloe Market hat that I won over at Green Eyed Monster as arrived yesterday.I can't wait until it gets a little colder. :)
Photobucket
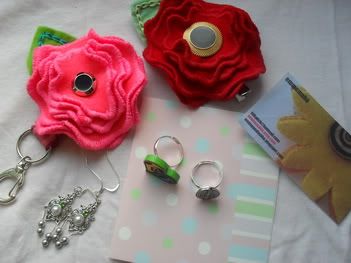
Also some beautiful items from Emma and Maha came in the mail today!
Photobucket
A beautiful hair clip and key chain:
Photobucket
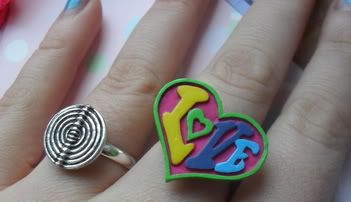
And two cute rings:
Photobucket
I love everything. :)
Image and video hosting by TinyPic

Nov 22, 2010

New Button!

I made a new button to go with the new header! I used this tutorial to make the button and this tutorial to figure out what codes I need to paste.Here is my shiny new button:


Go ahead and try to make one yourself,with the help of the tutorials its not as hard as you would think it is. :)
Image and video hosting by TinyPic

Nov 20, 2010

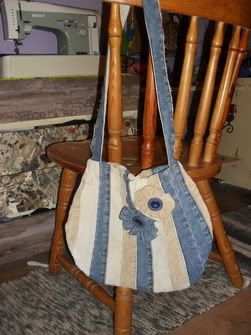
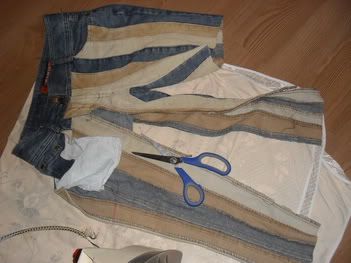
Recycled Jeans Bag

A few years ago my friend gave me these jeans so we could sew some bags from it.Yesterday I found it under a pile of fabric and made this fo her.Its an early Christmas present.
Photobucket
Photobucket
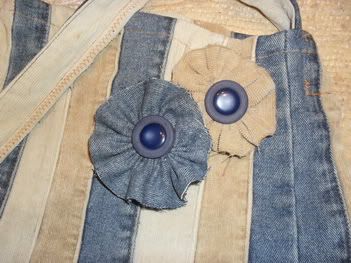
The pattern is my own and I made the fabric flowers following this tutorial.
This is whats left of the pants.:)
Photobucket
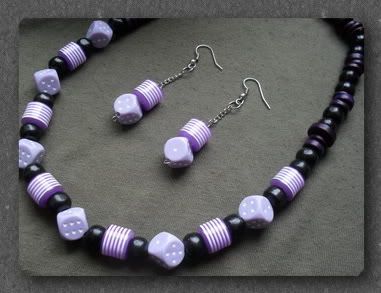
Also I was saving these plastic beads and rolling dice for a while and now I had some time on my hands to put a jewelery set together.
Photobucket
Photobucket
Back to making stuff for the fair.Its going to be a bit crazy over here,since I found out that the fair is starting December 1Oth so I need to finish everything by then.
Image and video hosting by TinyPic

Nov 16, 2010

The new life of the ugly necklace

Remember the ugly necklaces I found?
Image and video hosting by TinyPic
I made some new stuff from them for the fair.
Wire crochet bracelets:
Image and video hosting by TinyPic
Earrings:
Image and video hosting by TinyPic
And the shrink plastic earrings are almost finished.
Image and video hosting by TinyPic

Nov 12, 2010

Today I want...

...a house ring!
Like these cuties from JDavisStudio's Etsy shop.
Image and video hosting by TinyPic
Or this ring from AlloverArt's shop.
Image and video hosting by TinyPic
But luckily I found some inspiration by Chanelesque on Flickr to make my own.
Image and video hosting by TinyPic
Is that cute or what? :)If I can't have my own house I'll have my own house ring. :)
Image and video hosting by TinyPic

Nov 10, 2010

Creating

I got really crafty yesterday and made 22pairs of earrings from shrink plastic.I colored a few of them,but I need to finish and shrink them.Then I noticed I wont have enough earring hooks for them so I made 4O pieces. It got boring after a while... :)
Image and video hosting by TinyPic
I'm so glad that I got in to making earring hooks myself,this way I'm saving up a lot of money to buy other things.Like the two necklaces I picked up at the Chinese store yesterday.
Image and video hosting by TinyPic
I'm going to take them apart to make some earrings and wire crochet bracelets from the beads.
We had a sad,rainy day but when I went outside for a walk I saw that our bush became heart shaped! I never noticed that! :)
Image and video hosting by TinyPic
And this happened just after my dad said he wanted to cut it out.Of course we wont let him do it. :)
Image and video hosting by TinyPic

Recycled Button Box Tutorial

I came up with this idea when I saved a bunch of vintage buttons by cutting them from old,unwanted clothes I found in the garage.So here's a small tutorial on how to recycle round cheese boxes in to something every crafter needs.
Image and video hosting by TinyPic
You will need:
-round cheese box
-newspaper or an old book
-glue
-decoupage glue
-paper napkin with pretty design
-scissors
Image and video hosting by TinyPic
Step 1.
Cover the outside of the box with newspaper.
Image and video hosting by TinyPic
Step 2.
Cut two circles from the newspaper and cover the inside of the box too.
Image and video hosting by TinyPic
Step 3.
Cut a circle from cardboard and make two holes in the middle.This will be the button on top of the box.
Image and video hosting by TinyPic
Step 4.
Cut the same size circle from the paper napkin.
Image and video hosting by TinyPic
Step 5.
Cover the cardboard button with decoupage glue and carefully smooth the paper napkin on it.Push a pencil through the holes.Now your button is finished.
Image and video hosting by TinyPic
Step 7.
Glue the cardboard button on top and your button box is done! :)
Image and video hosting by TinyPic
Now you just need to fill it up with pretty buttons.If you want you can decorate the box more with small buttons or decoupage some images on it.Hope you enjoyed! :)
Image and video hosting by TinyPic